Camera work
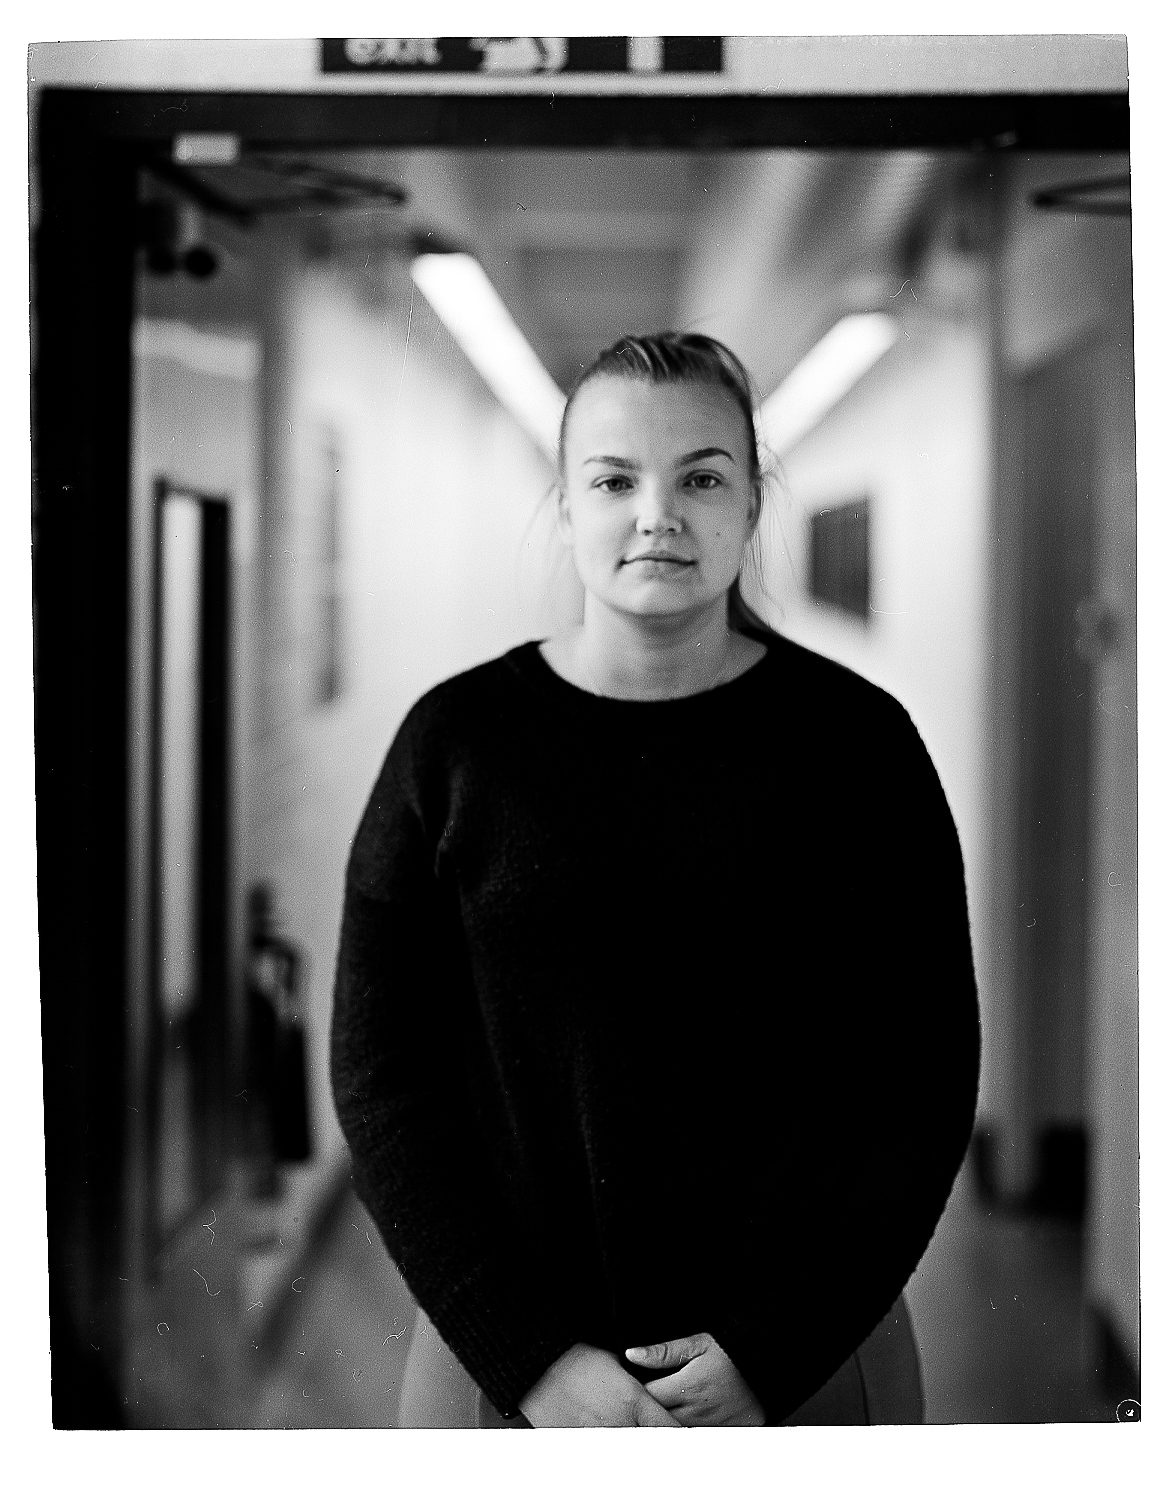
Using the 6×6 medium format camera and using the Large format camera for the first time was really challenging but on the other hand so interesting as I was performing one of the oldest way of capturing a photograph. The first photograph was taken in a Skate park by Campus, beautiful weather, urban backdrop, one model, black and white and medium format camera – nothing could have went wrong here! This was an environmental portrait as we have a little scenery in the background of a skatepark, this represents the youth, freedom and art because of the graffiti. When using the camera it was difficult for me to remember all the steps you have to do before taking a shot like metering the light with a light metre, taking out the dark slide focusing the lens and finally SNAP.
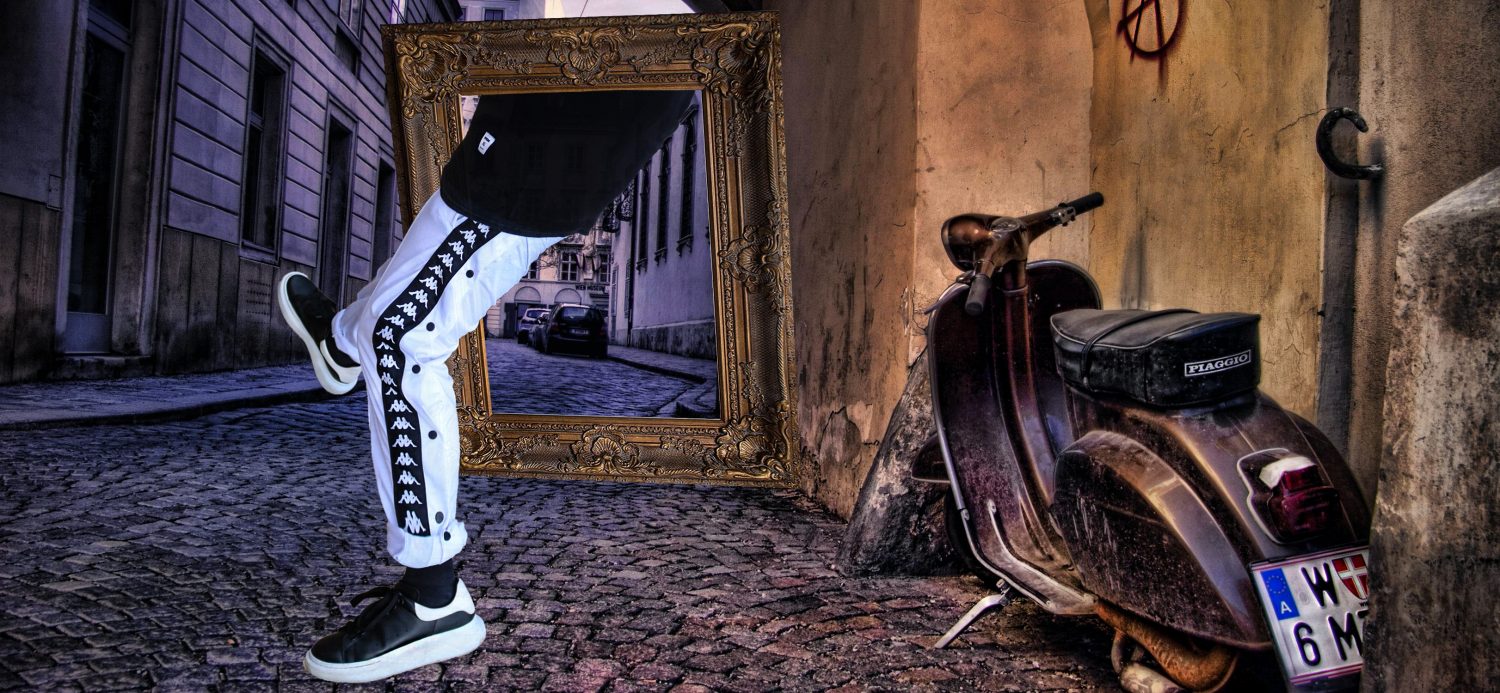
The second photograph illustrates a shot from the Large format camera. the process of taking a photograph was almost the same as the medium format however there was a little more instructions such as using a zoom in loop to measure the focus, closing the shutter each shop, remembering to take out the film carefully and changing it each time there was a photo taken and pressing a wired button which tells the camera to take a snap.
Darkroom
Using the darkroom was such an outstanding experience however working in complete darkness was really difficult as it was my first time. Printing the photographs was a really relaxing and took a long period of time because of all the steps you have to do. I had to gather my film in negatives carriers to keep them dust free and fingerprint free. Then using inserts you select which negative you want to print, each insert is used for different formats and sizes like for instance a 6×6 Square. you gather yourself a measuring board which later the photo will be projected on, get a focus lens, quality paper and cardboard for exposure.
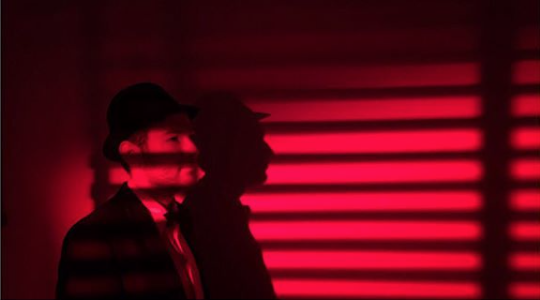
When entering the darkroom you have to choose whether you’re using the black and white or the colour room as the black and white involves working with a dark red light and the colour room is pitch black. When you loaded the insert in the exposure machine you are good to start. First you have to focus the photo so that it prints out in great quality. Secondly by having a mod device by your side you can control the grading and exposure lengths which make the actual machine expose light onto the paper. When that is done you can transfer the image onto the developing tray with special chemicals. For a minute and a half the photo is soaking in the tray which seconds later you can see the photograph exposing on the paper. Then for thirty seconds you end the developing in a second tray which involves a different chemical. Thirdly you take it out and put it in the last tray which processes the photograph so that there is final details exposed and the contrast settles in slowly. The last steps are the quickest, you soak the print in water for about 10 minutes and dry it in a machine so there are no watermarks. You finish off with scanning the print onto a computer to further develop with editing softwares.