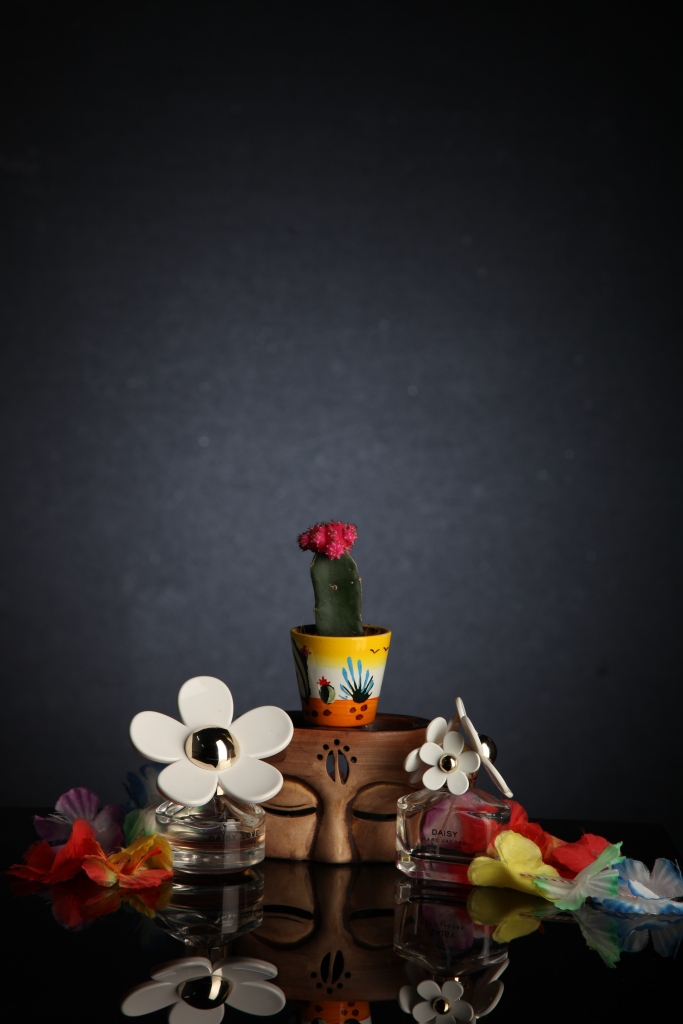
In this workshop we focused and got taught how to set a composition for a still life photograph using some objects we bought into the studio. My group worked with perfume bottles, candle holder, a cactus and a flower neck chain to create great photographs in a dark setting. Overall I really liked the outcome of these photographs and I really enjoyed taking photos in this workshop as I never in my life focused on objects but mainly people which meant that this was a little challenge for me.
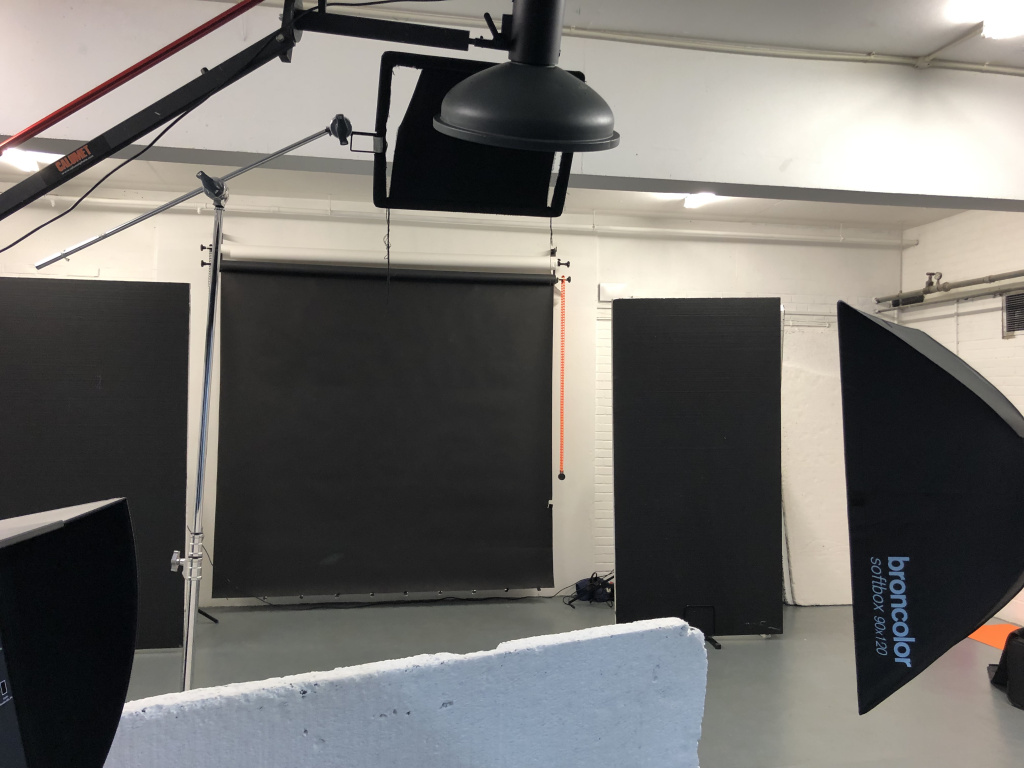
Equipment: 1 Head, 1 Pack, 1 Large Softbox, 1 Light Stand, 1 Set Wizards, 1 Normal Extension Lead, 5d + Tethering Leads.
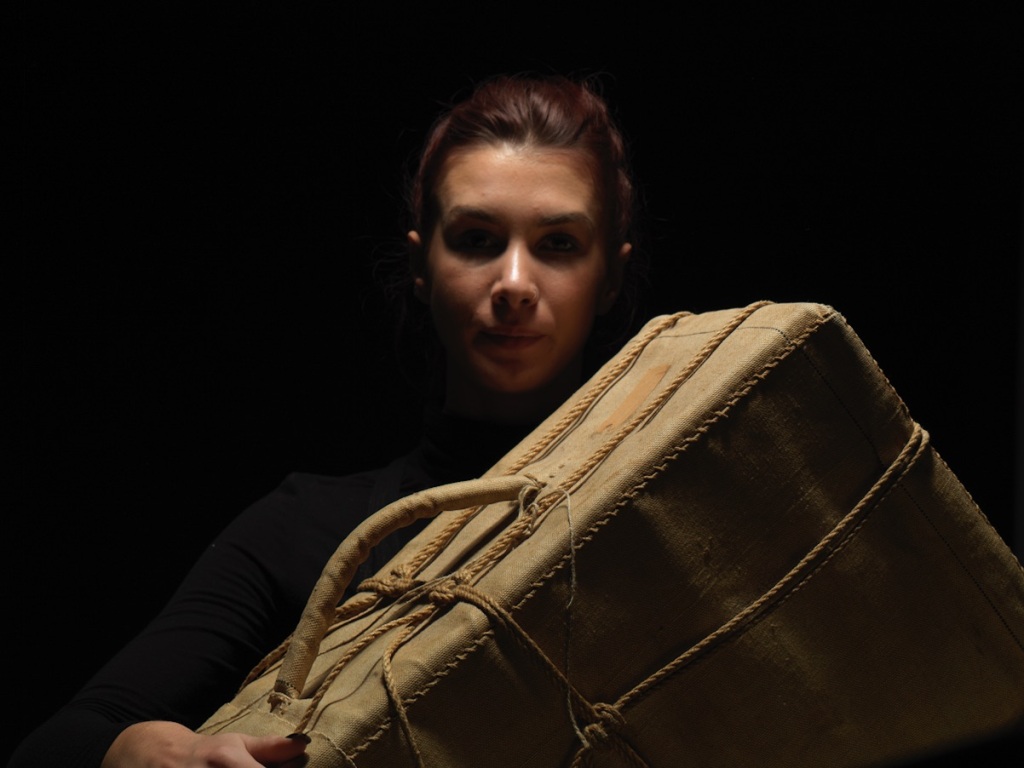
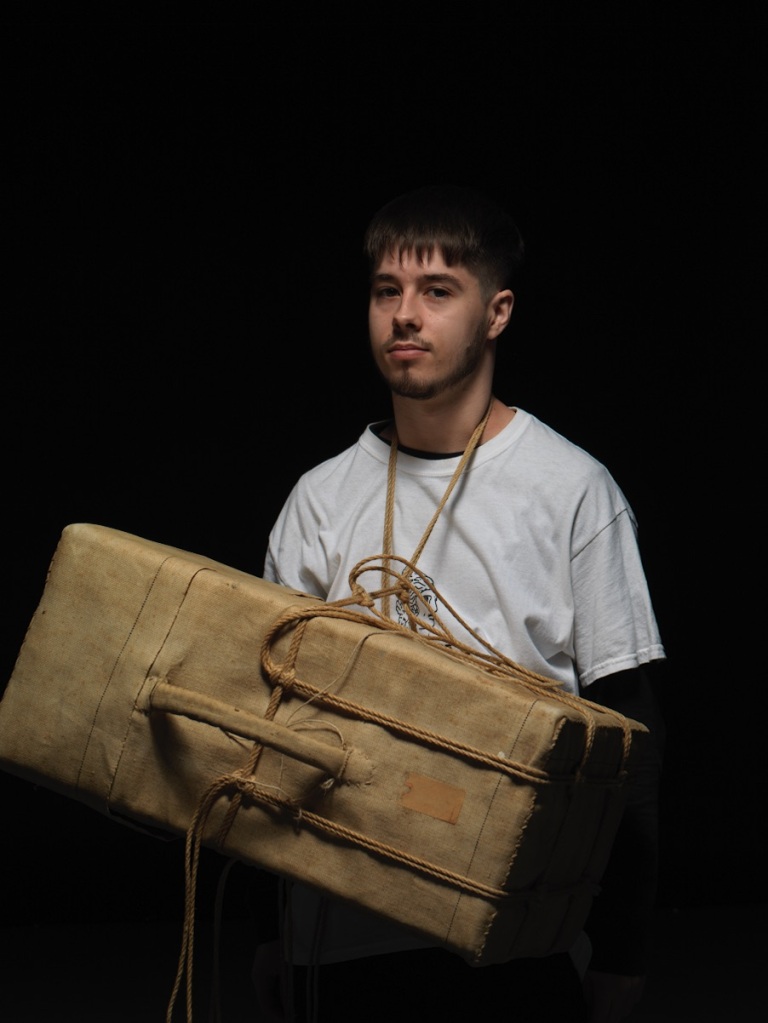
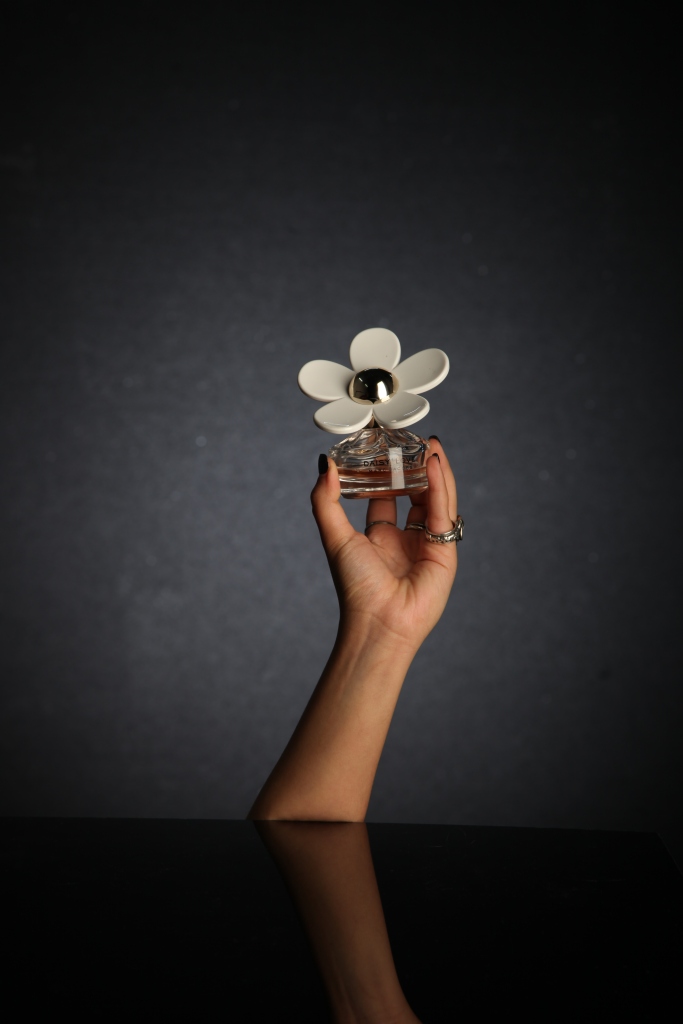
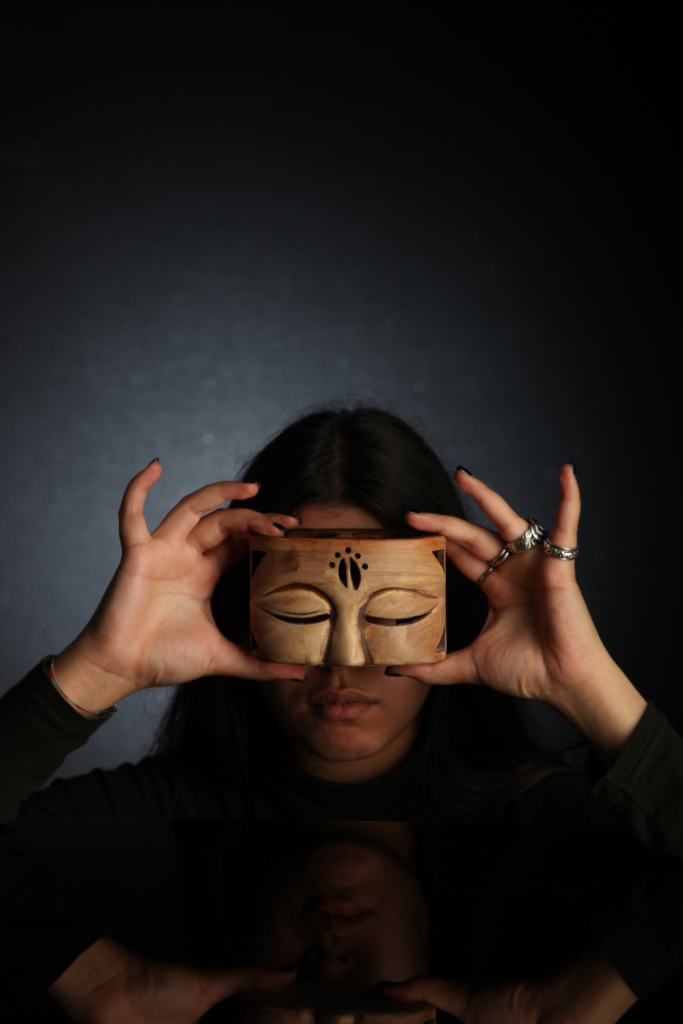
Our First set up: The mood and scene was dull, ancient and focused on objects only.
Here I will present three of the the best photographs we took in our lighting workshop:
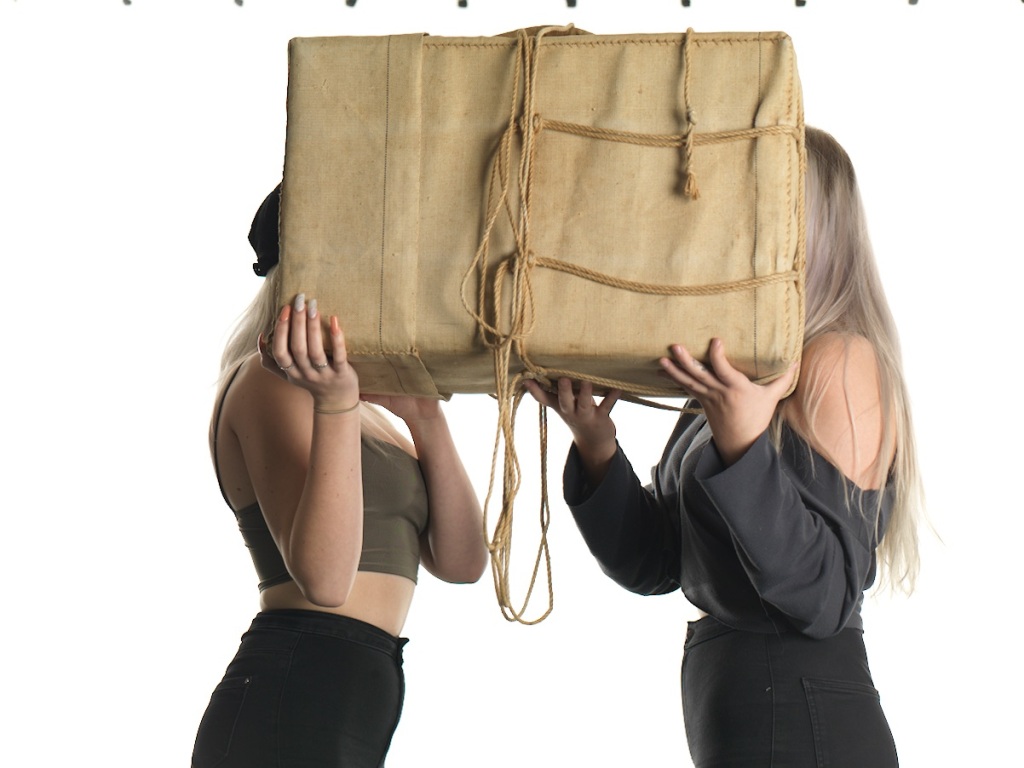
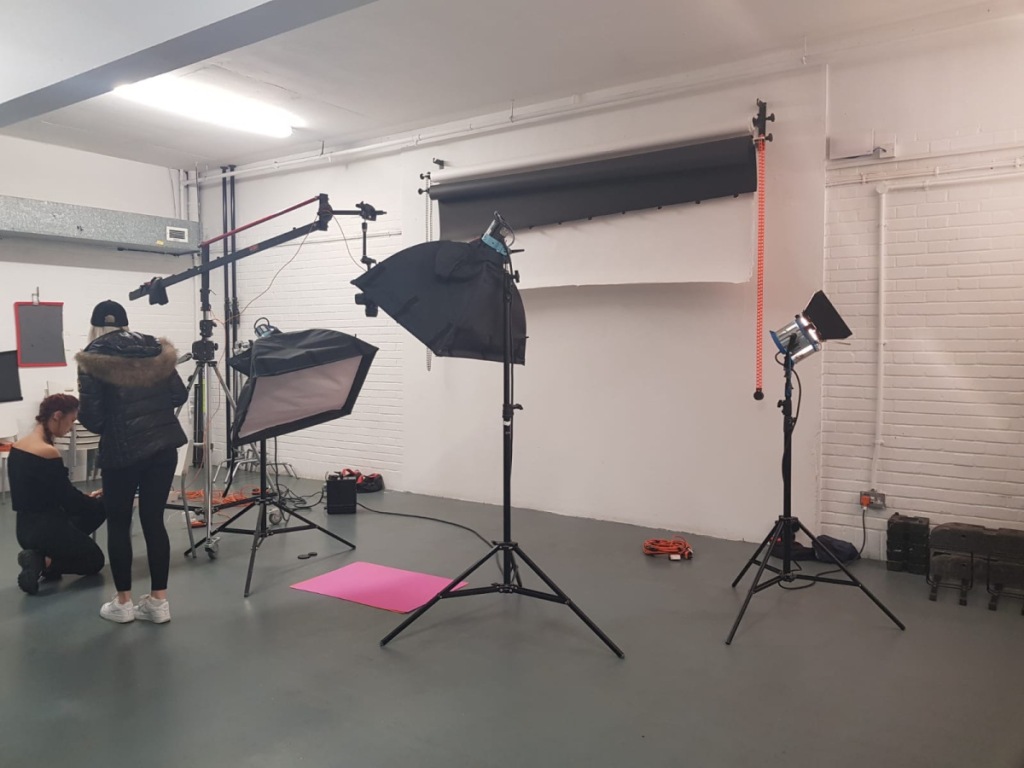
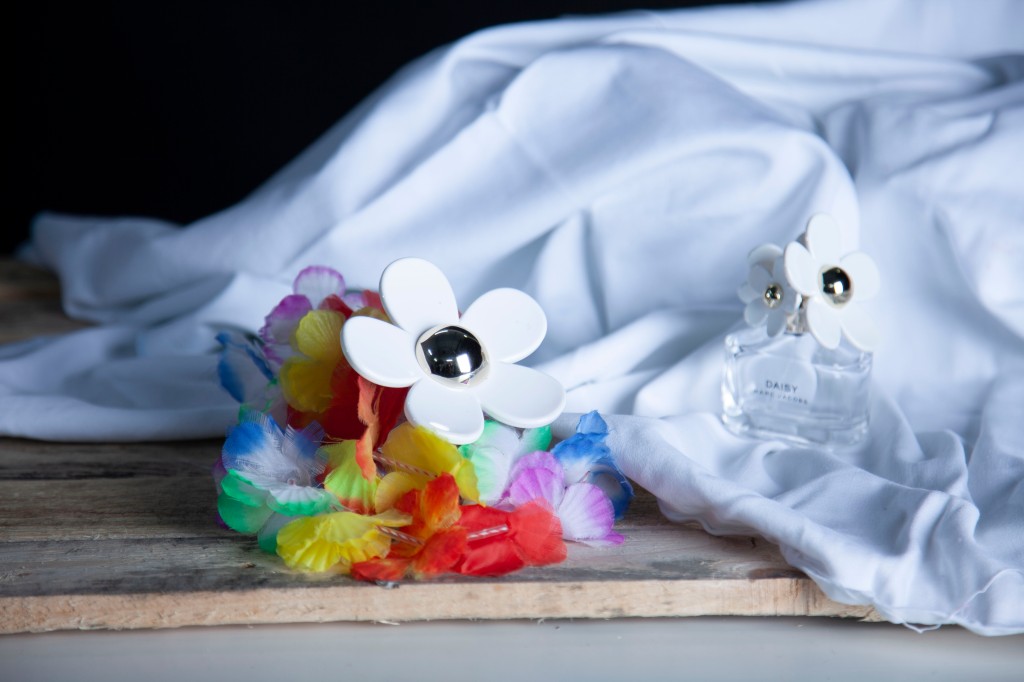
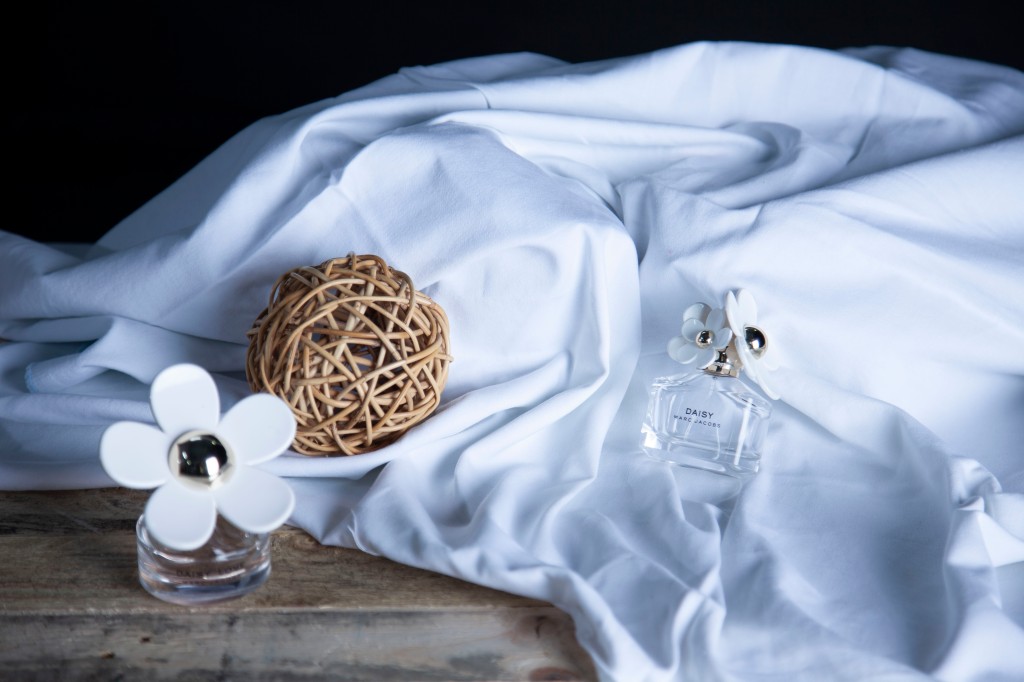
Second set up: This mood was more bright, exciting and pure.
The second time shooting objects we limited what we used and tried to make our photographs crisp and clean as we had a nice white sheet surface set up to use which created an amazing look for our products. The only problem I had woth this set is getting the camera to focus on the logo(text) of the perfume, the bottle was transparent and really hard to find the perfect time ot catch it in focus.
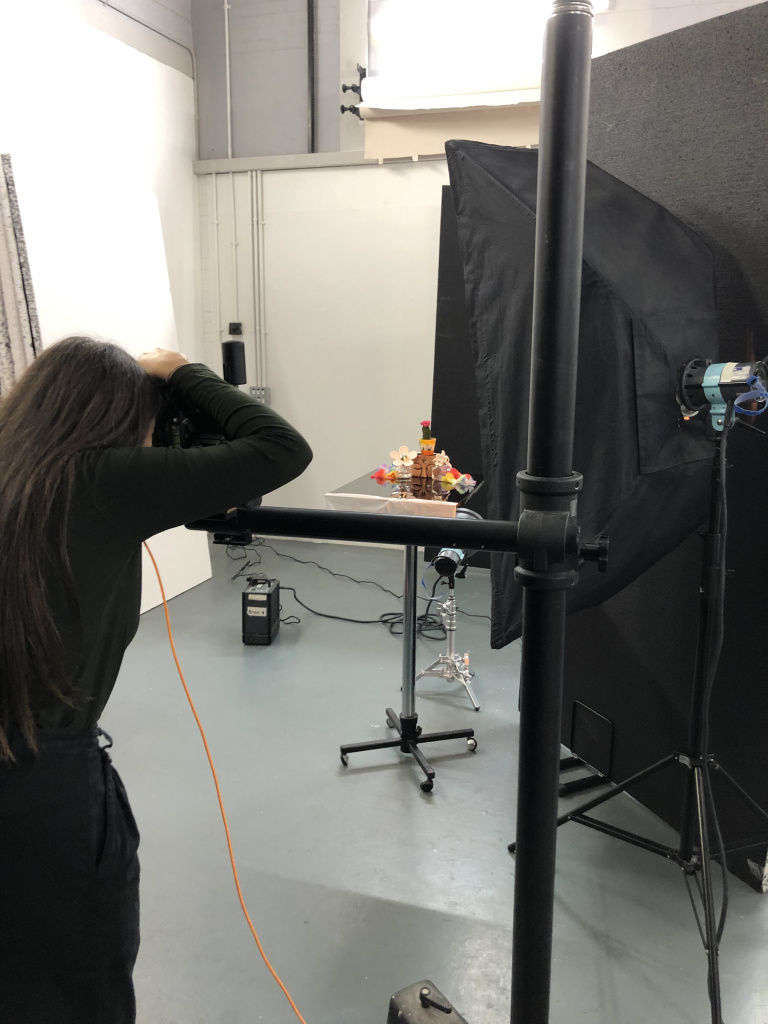
Equipment: 2 Heads, 2 Packs, 1 Mighty Baby Light Stand, 1 Normal Light Stand, 1 Snoot, 1 Soft Box (medium), 2 Plinths (same height), 2 Packs Wizards, 5d + Tethering Leads.
Here I present a few photos from the second scenery:
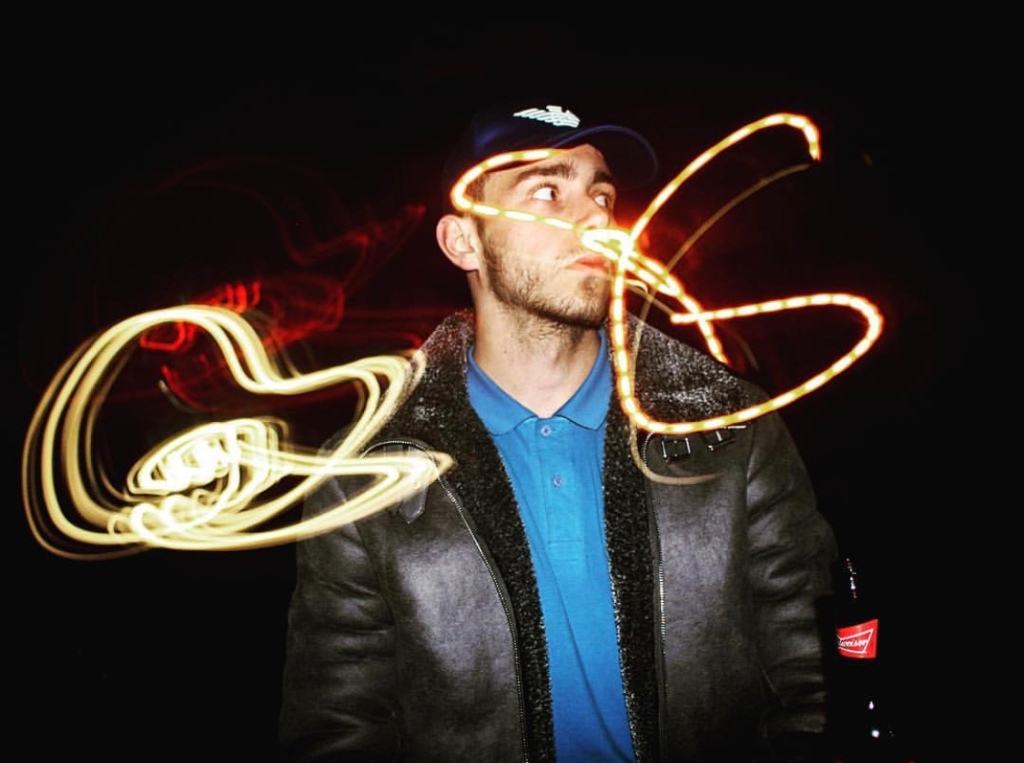
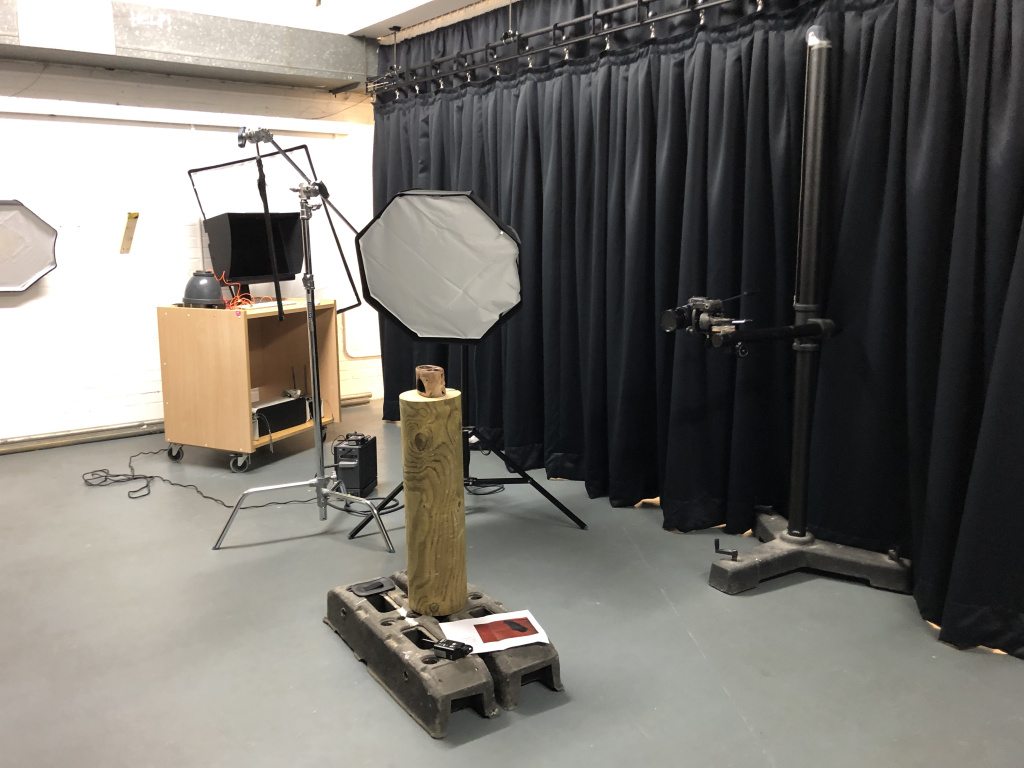
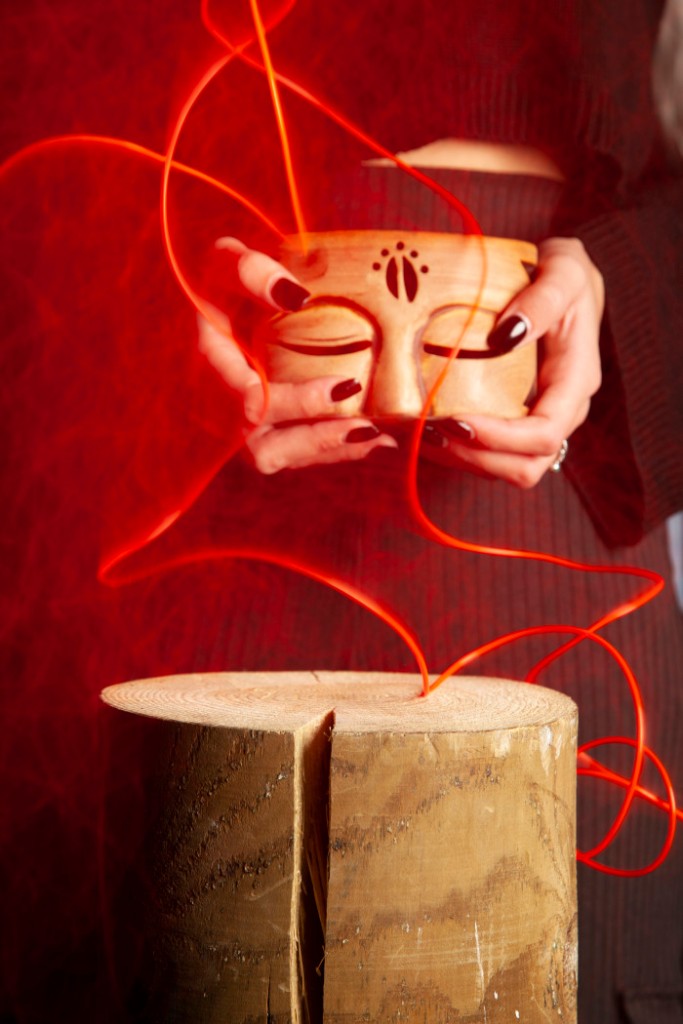
Third Set up for this Workshop: Working with still life objects and having a moving light strip in the background creating an amazing effect of shutterspeed light flow. This made the background far from boring and simple and still created a mood where the object was in full focus and still being the focal point of the photograph.
Here is one photograph from this set up: