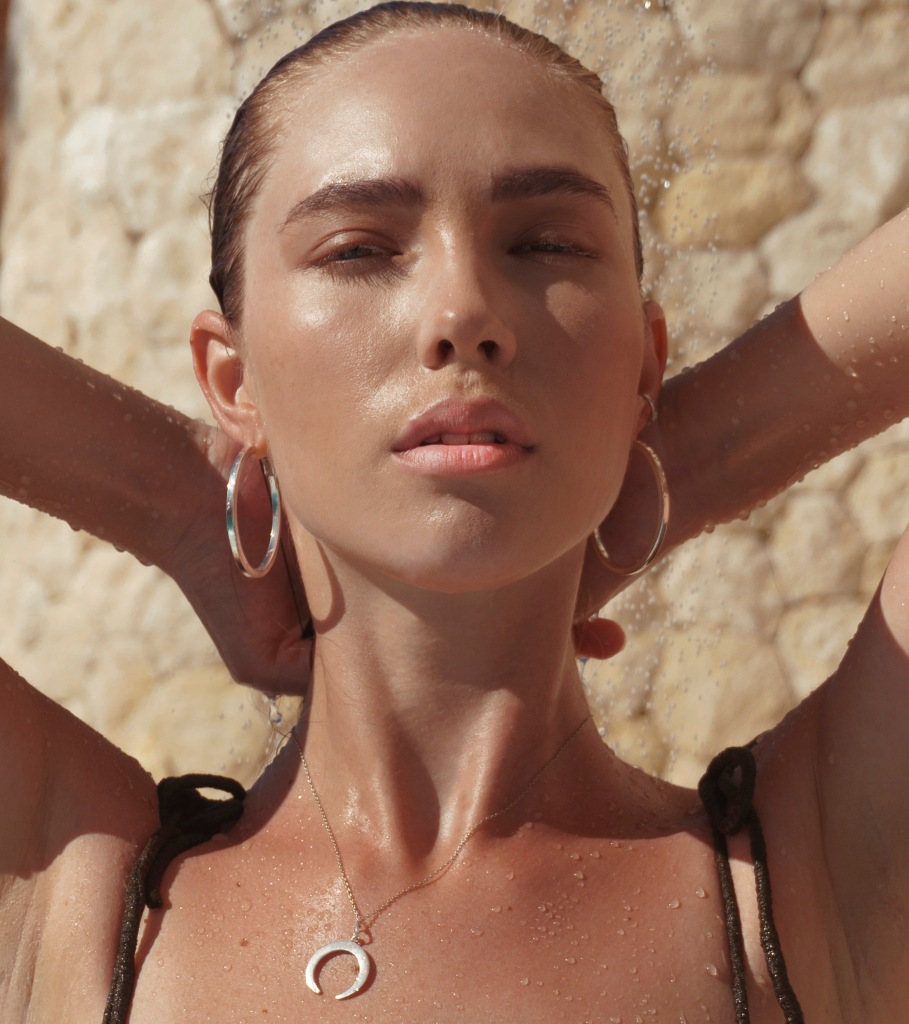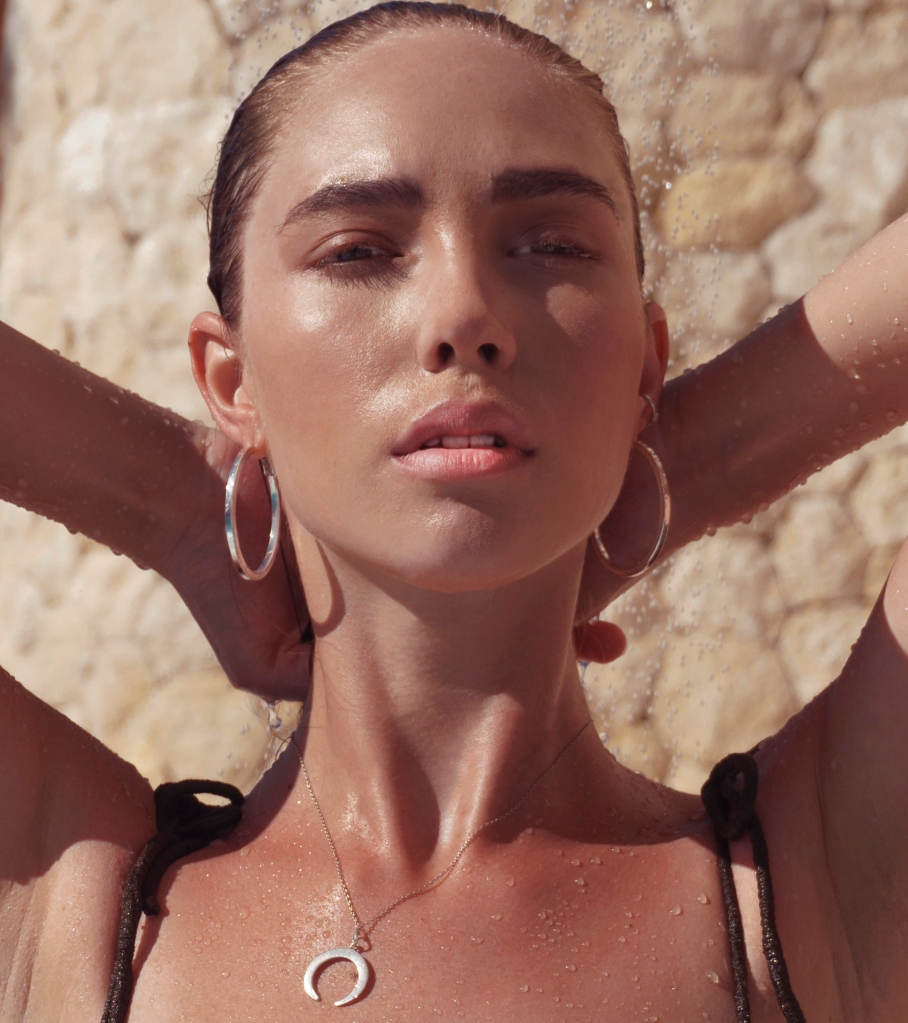
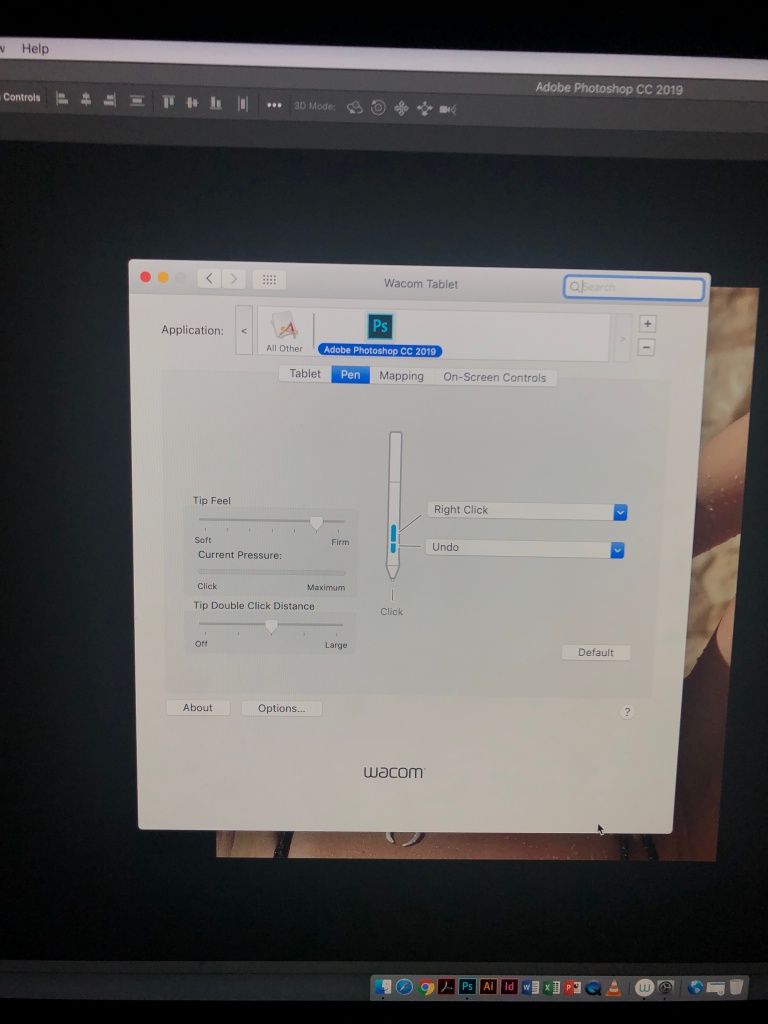
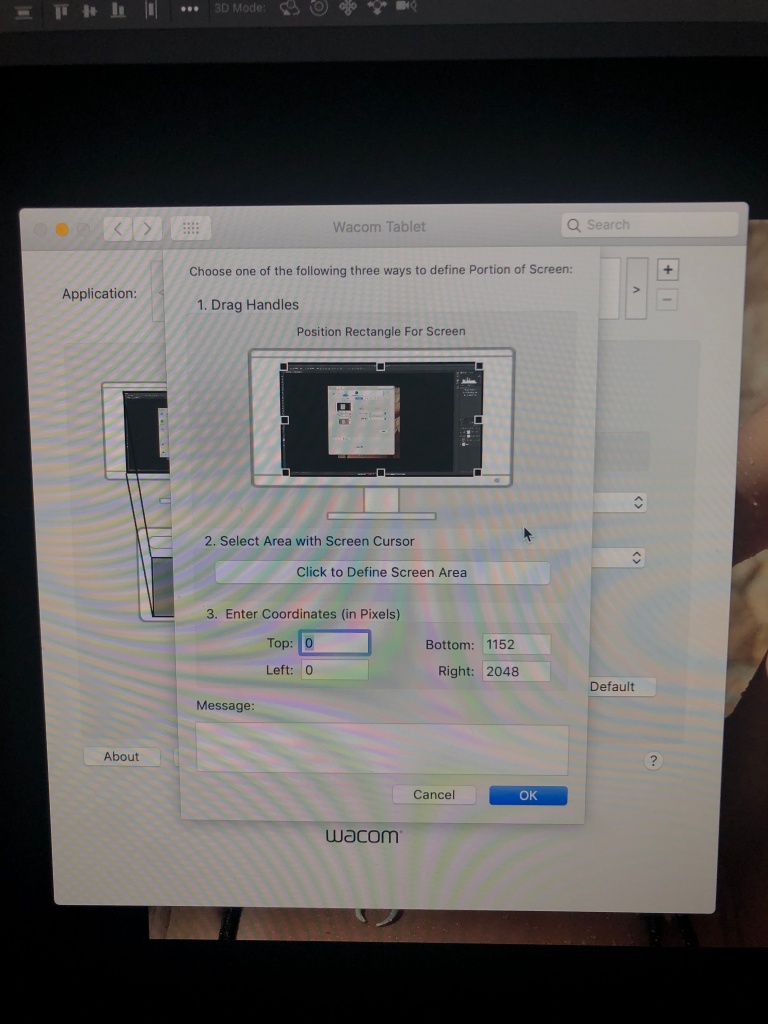
I really enjoyed this workshop as I feel really confident with postproduction such as using the photoshop software. Here I will present two photos, one which is the original and the next one is after editing. There is one little thing that is different to when I normally edit. I used the Wacom digital editing tablet. At first it was difficult as I never had my hands on a piece of technology like that. I first had to change the settings before doing any adjustments. You can adjust the sensitivity and buttons on preferences.
Soft is very sensitive and firm is the opposite:
You can adjust what area you want your pen to work in, this allows you to only focus on specific areas such as the eyes or lips.
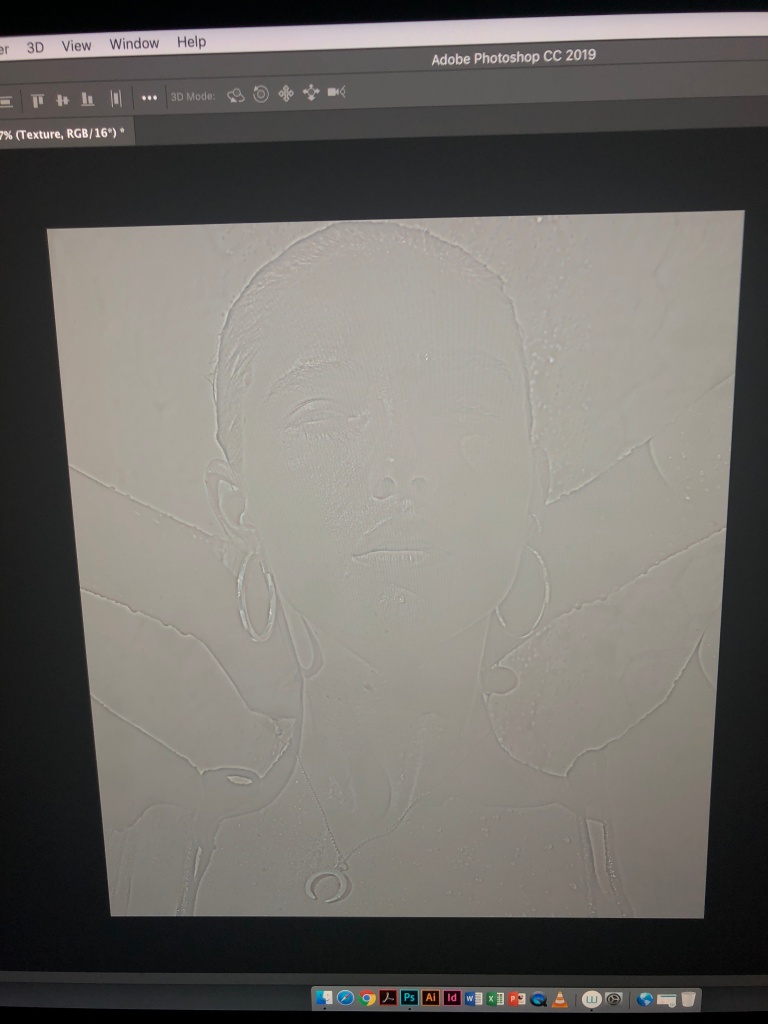
The getting into the actual retouching we used the High and low frequency re touching technique.
High frequency is about the details and the texture of the photograph such as the skin. Whereas the low frequency is about colours, so the cold or warm tones and shadows.
I firstly Duplicated the layer to have a background layer and name it colours and texture.
After I made these adjustments: Texture- add Gaussian Blur, Colour- image- apply imagine.

These affects made my image look like this, a mask looking feature:
Lastly, go to linear light and take the colour and texture layer and group them together. This this made the mask come off and made me carry on with editing such as removing imperfections, adding tones, using the burn and dodge tools to lighten and darken features such as teeth and eyebrows. Using the liquify tool I improved her facial features such as her jawline, her lips to make them pop more, made her eyes slightly bigger and adjusted her cheeks to make her even prettier in my opinion.
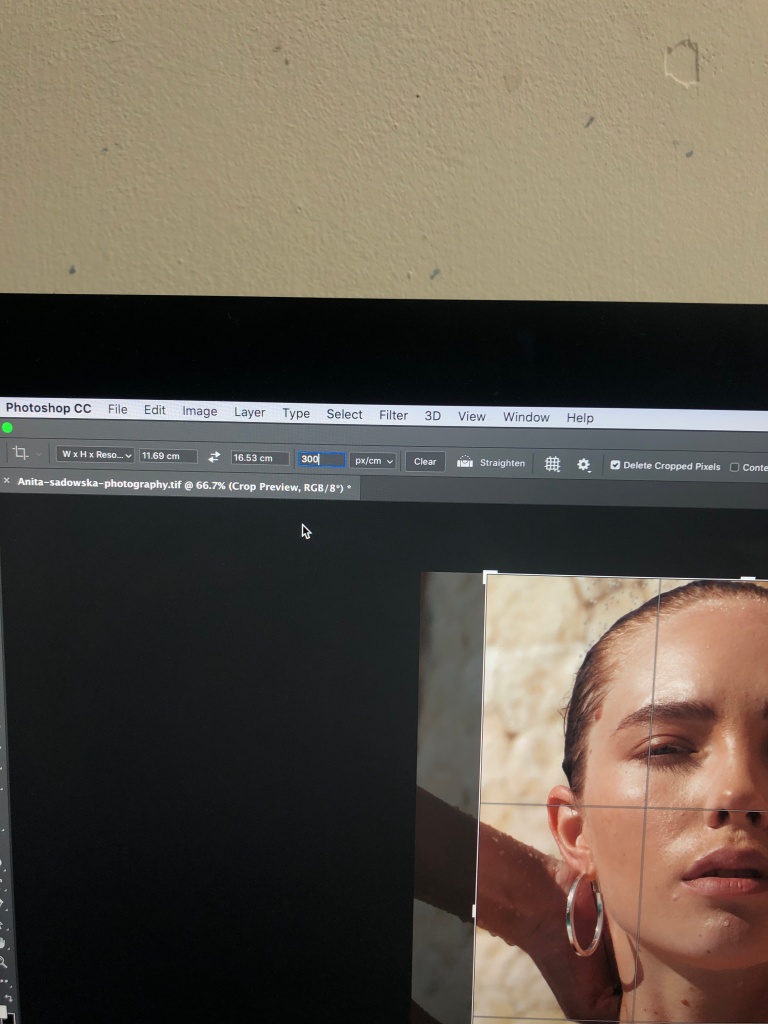
In extension, I learnt how to make my photograph in photoshop be printed in the A3 size.
Add border
Image
Canvas size
Clock Relative
Choose you centimetres
Press okay
Then go to layer
Flatten to make it white
Here I present my Before and after: