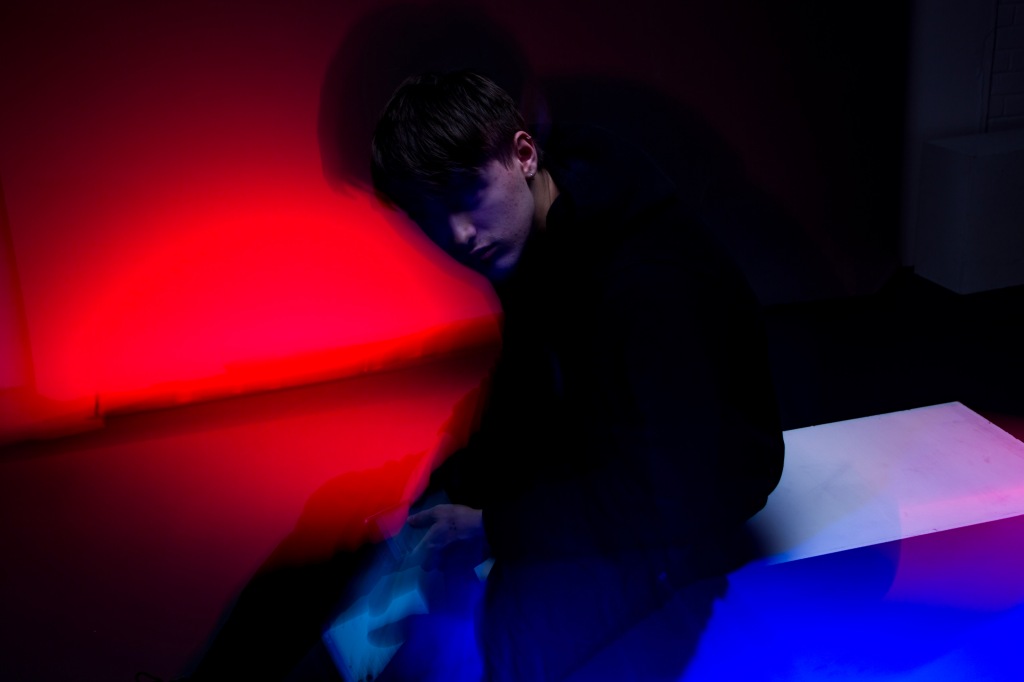
I was so impressed and proud of this workshop, this is because the outcome and quality of these shoots went so well. The compositions are so unique, and the lighting came out strong and as effective as the latest magazine photoshoots today. On the day we set up continuous and flash lighting and as a group we had to figure out the best way to make this work. In my group we first decided about reforming the shutter speed by slowing it down and capturing motions in the shots. It came to notice that it only would work well if we added gel colours. With the help of the red gel we created amazing outcomes.
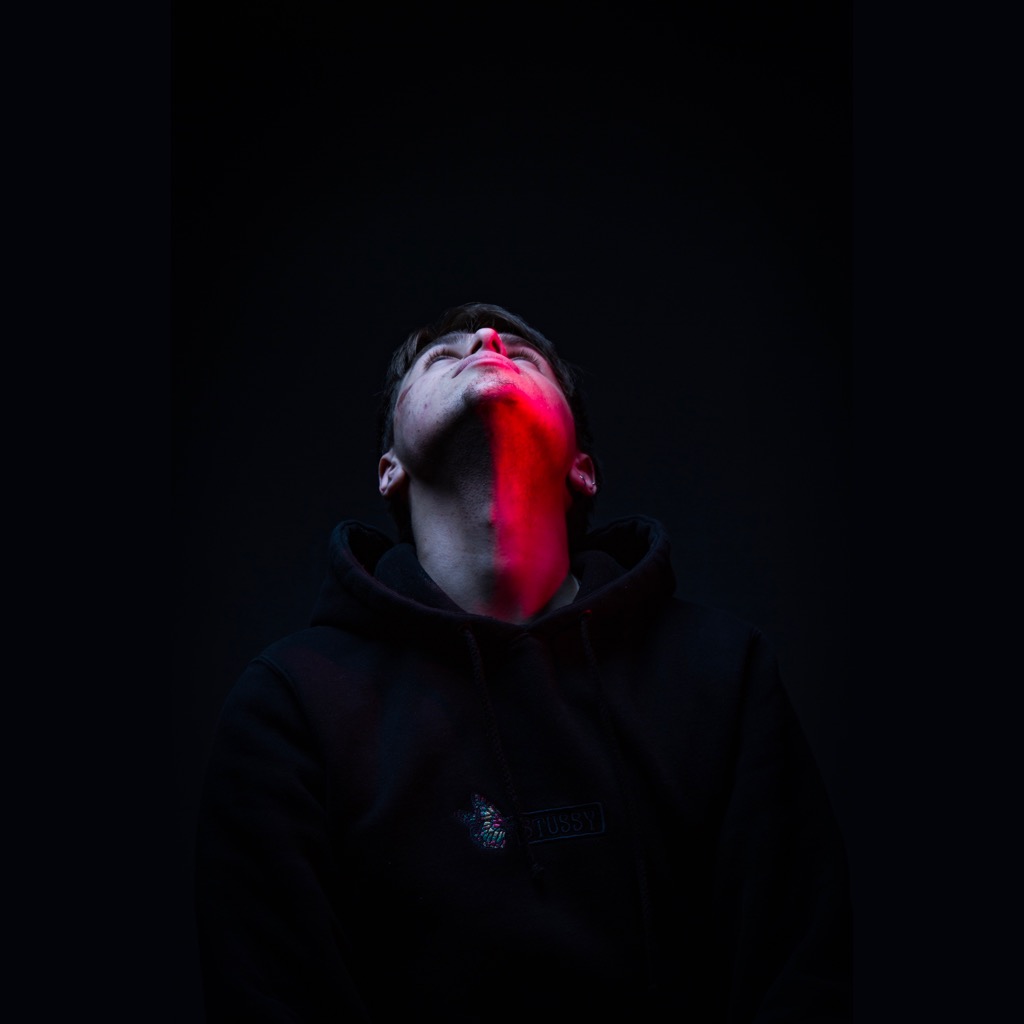
My personal favourite is of Harry in the first image, his neck is tilted upwards and you can explicitly see the red glow on his neck. This made it look really contemporary and extravagant.
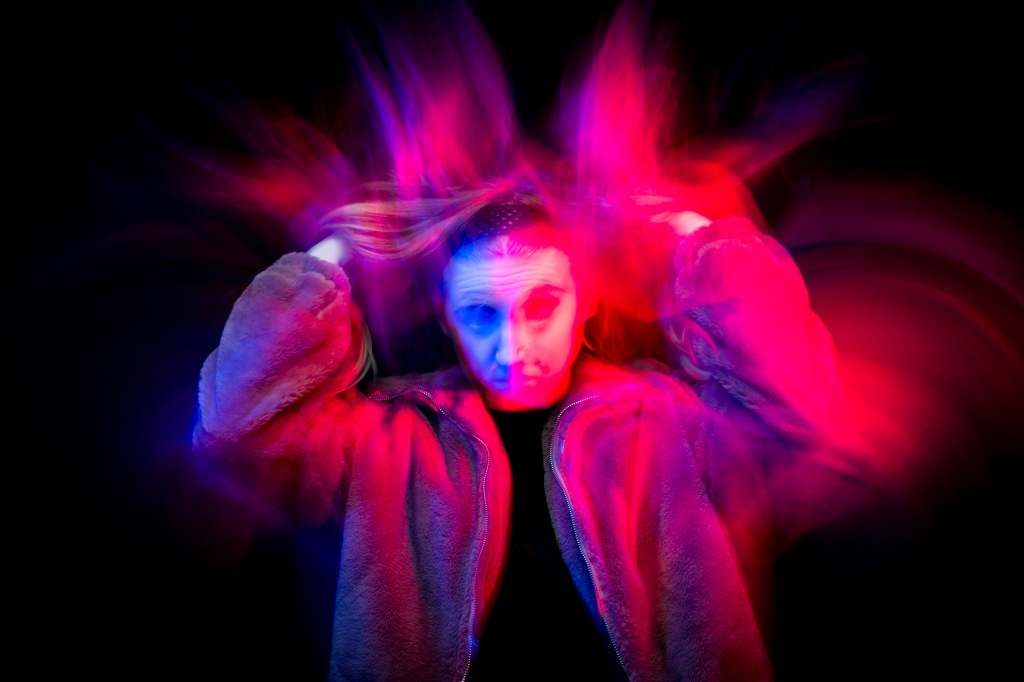
One of the shots I took that I was also proud of was the one of Lauren and with her flicking her hair up and capturing the movement of that was so great. Also, someone who didn’t knew I was using mixed lighting could think I spent a week editing the shots whereas I simply performed it in one shot.
Continuous and strobe light are normally of a different colour temperature, and while in some scenarios this may work to your advantage, in others you may want to match your light sources’ output colour by using colour filters or gels. I will talk more about this in a separate article. When we shoot with strobe light in studio our shutter-speed usually is a little below maximum synch speed, typically somewhere between 1/125 and 1/250 depending on the equipment. We increase our shutter speed to those numbers to avoid any influence of the ambient light, such as light from the windows in the studio or modelling light of the strobes.
It’s important because ambient light, when it interferes with your intended controlled lighting, can reduce the sharpness of details in your image and alter its colour temperature. It is very important to place and point your light sources so that that main strobe light “freezes” the details that you want sharp and pronounced in the picture. And the modelling light should only spill on the areas that you want blurred. As I mentioned before, photographers often match the colour temperature of the continuous and strobe light by using colour filters, but in Aleksey’s scenario the warmer colours created by the modelling lamps actually perfectly fit the idea and the mood of the image.
In this workshop I have learnt to make sure there’s no ambient light in the studio. Only your continuous light sources should be on when practicing this technique and to use reflective objects, accessories and shimmering fabrics to add interesting highlights and “light trails” in your photos. Avoid using dark clothing and fabrics as they will absorb the light and weaken the effect. Lastly our teacher has told us that If you use colour gels on your continuous lights watch them closely to make sure they don’t melt – continuous light sources tend to heat up quite quickly.